Enable FIDO2 for Passwordless login in Azure

FIDO2 is a great leap forward in Security, by having your users use this instead of passwords for day to day usage, you can greatly improve your company's security posture.
Published on October 02, 2020 by Coding Flamingo
FIDO2 Passwordless Azure AD AAD
3 min READ
Many of the most common hacking attacks start by stealing a password. Since it is hard for admins to prevent their users from falling for phishing attacks, or selecting hard passwords that are not re-used in their other accounts our super easy to crack.The tech community had to come up white a better way to protect our users, this is where FIDO2 comes in. In this article we will set it up for our Azure users.
What is FIDO2
FIDO2 was created by the FIDO (“Fast IDentity Online”) Alliance, which is an association that many companies created in 2013 to help reduce the over-reliance on passwords.
FIDO2 is based on standard public key cryptography. Basically the user has a hardware security key that keeps the private key secure (it never leaves the device), and then a public key that is used to verify the privatekey (if you want to learn more about the magic behind public key cryptography click here) is given to the server. This means that the server never knows your private key and a compromise of the server will not like your private key.
But enought about the protocol let’s talk about how to add it to your Azure environment :)
Video Version
Text Version
How to Implement it in Azure
- Login to the Azure portal as a global administrator.
- Go to Active Directory -> Security ->Authentication methods
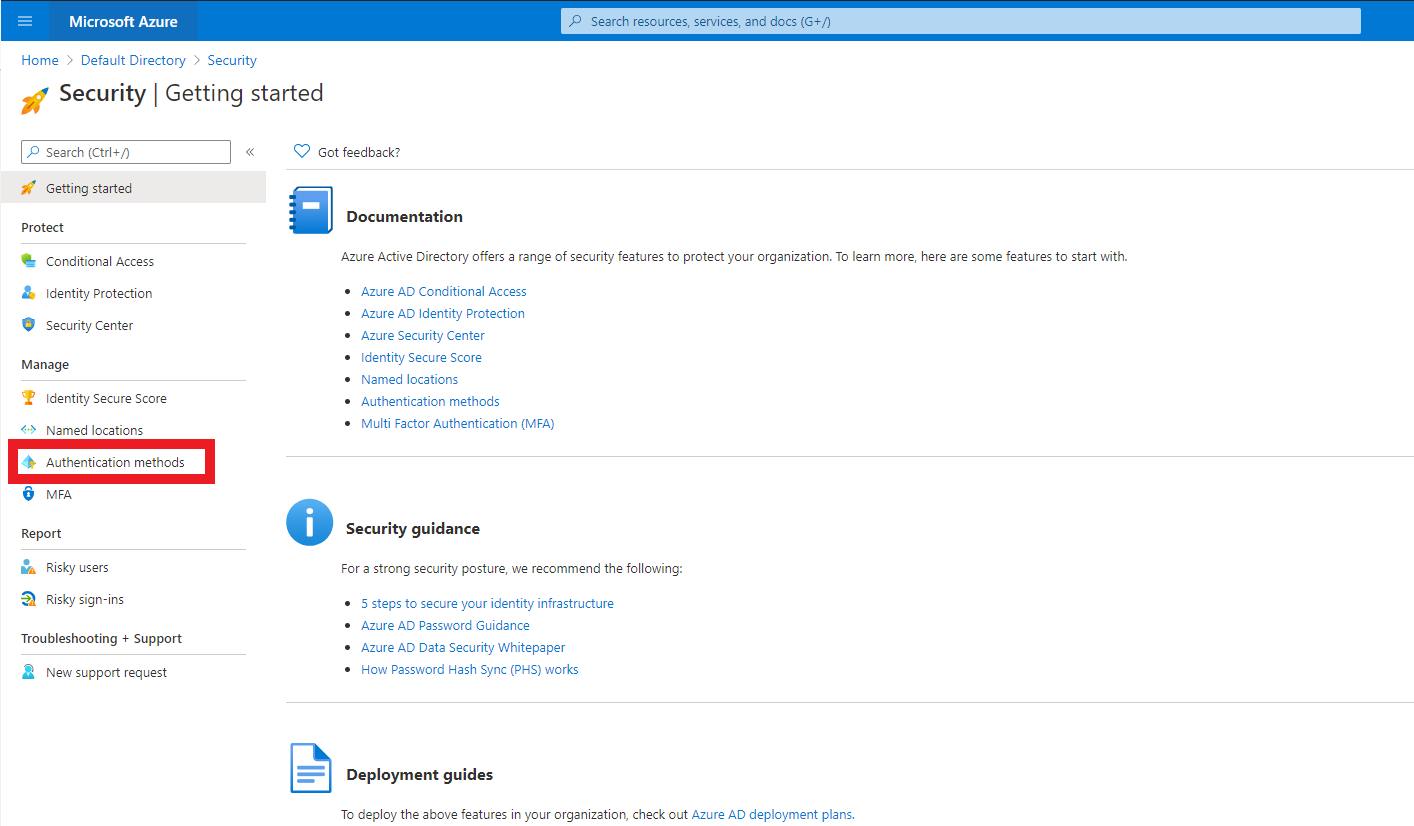
3.Click on FIDO2, this will bring up the FIDO2 tab.
4.Click yes on the enable option.
5.In target you can set it up for all users (That is the Flamingo recommendation ;)) or select a group of users.
6.Allow self service has to be set to yes.
7.Make sure Enforce attestation is selected as well (this attests the FIDO2 hardware key).
8.Enforce Key restrictions is if you want to restrict the keys the users can use (Either whitelist certain manufacturers/keys, or blacklist them). Blacklist will become useful when there is a vulnerability like ROCA and you have to block a certain device SKU.
9.If you select to enforce key registrations, you will have to add the AADGUID of the manufacturers you want to allow or deny. To get a list of devices AAGUID you have to visit the manufacturers website. For example, here is the yubico site
10.Once you select your settings click save.
User self Enroll
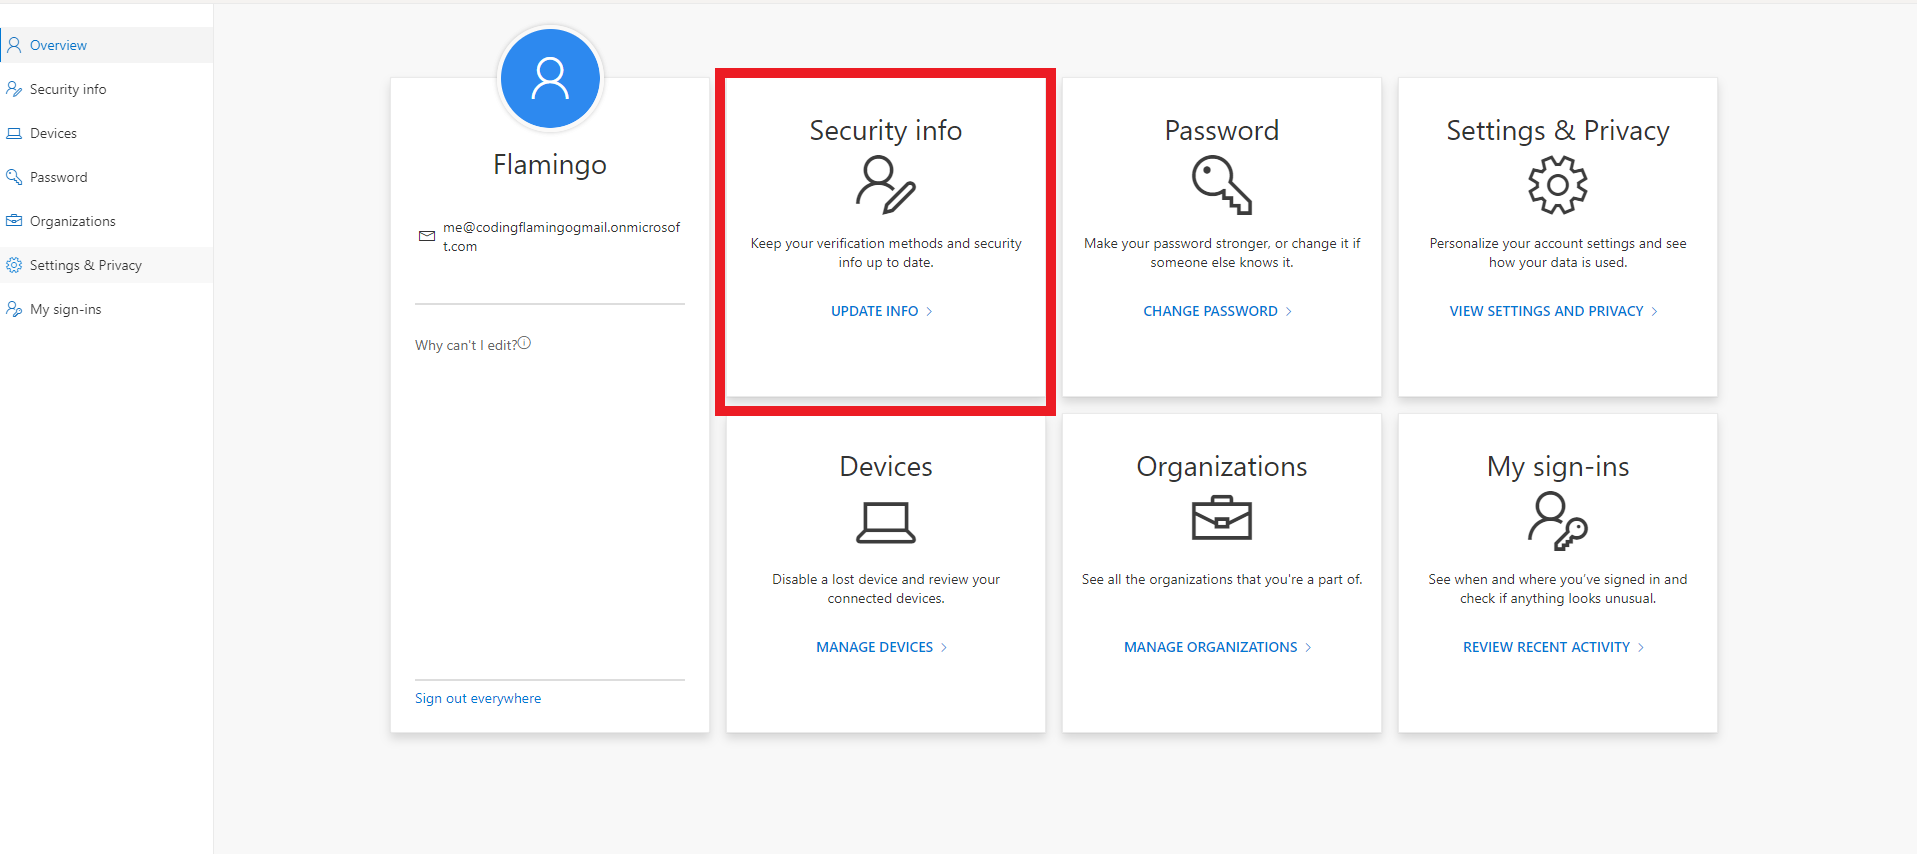
- Tell user to browse to https://myprofile.microsoft.com
- Sign in with their account.
- Click on Security Info
4.The must have at least one MFA method before adding a FIDO2 key. If they don’t have one ask them to add an MFA option.
5.Add the FIDO2 Key by clicking the Add Method button
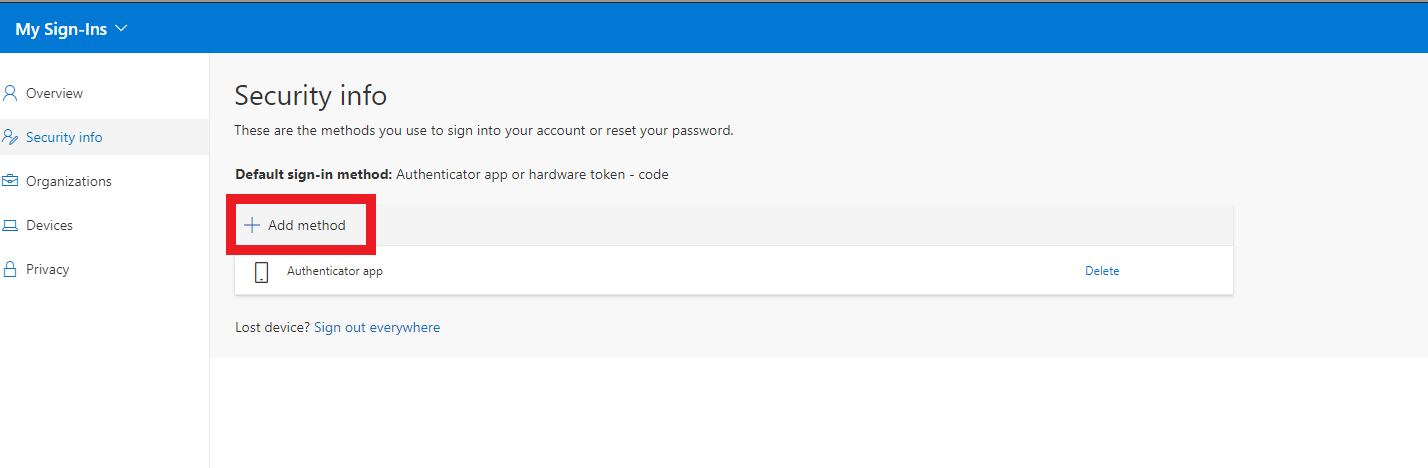
6.Select Security key from the drop down.
7.Select the type of FIDO2 key device you have.
8.Follow the instructions to register it, if it is a new key it will ask you to set up a pin (this pin will be asked each time you need to unblock the private key, choose a secure pin), if you have used it before it will ask you to enter your pin.
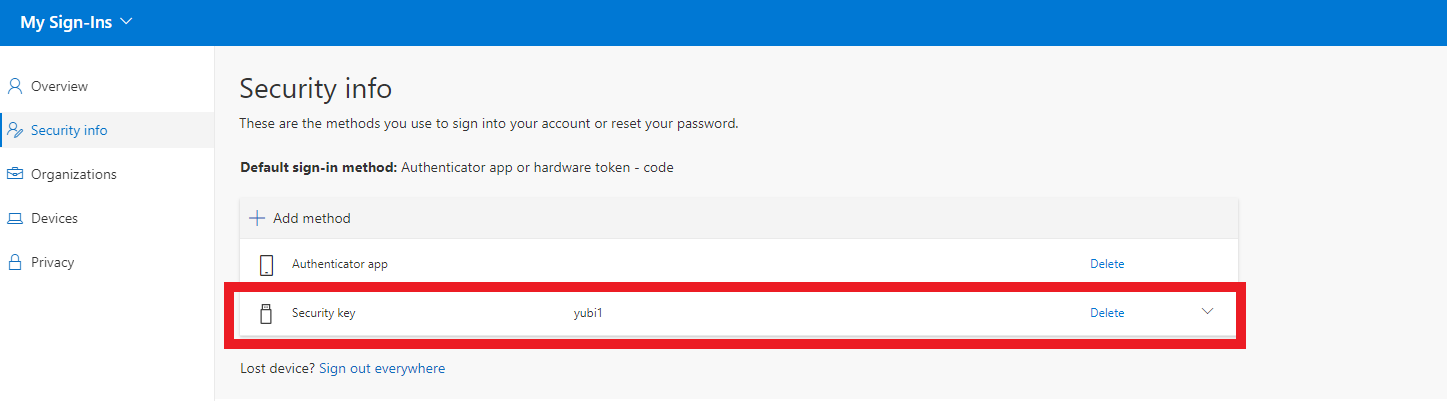
9.Once it is registered, it will ask you to enter a name for this device, this is for you to know which device it is in the my sign-is page.
10.After this you should see your device as an authenticator method.
11.Go to any AAD protected site Azure portal for example.
12.Connect your FIDO2 device.
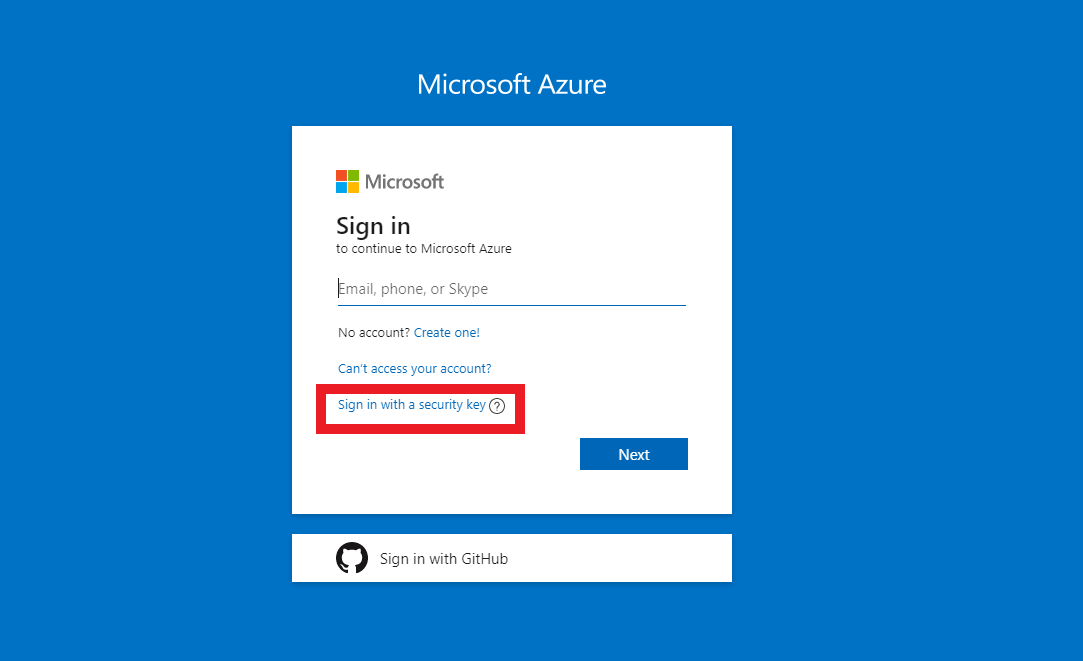
13.Click on “Sign in with a security key”
14.Enter your device pin.
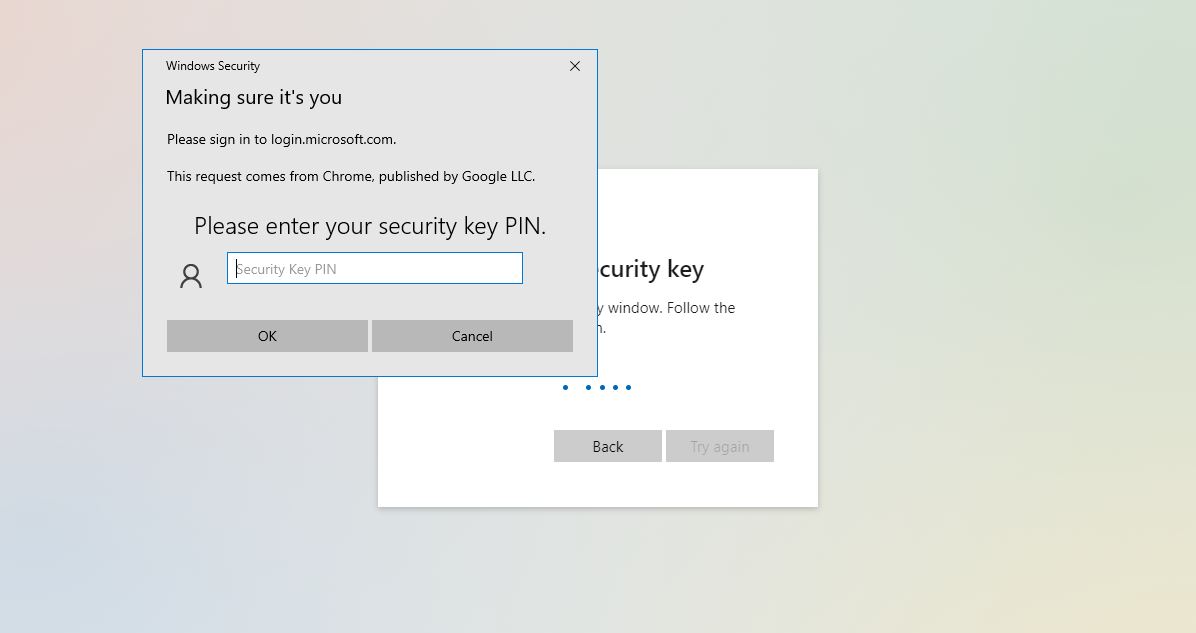
15.Enjoy your new sign in experience.
Comments
No comments found for this article.
Join the discussion for this article by commenting in this ticket. Comments appear on this page instantly.